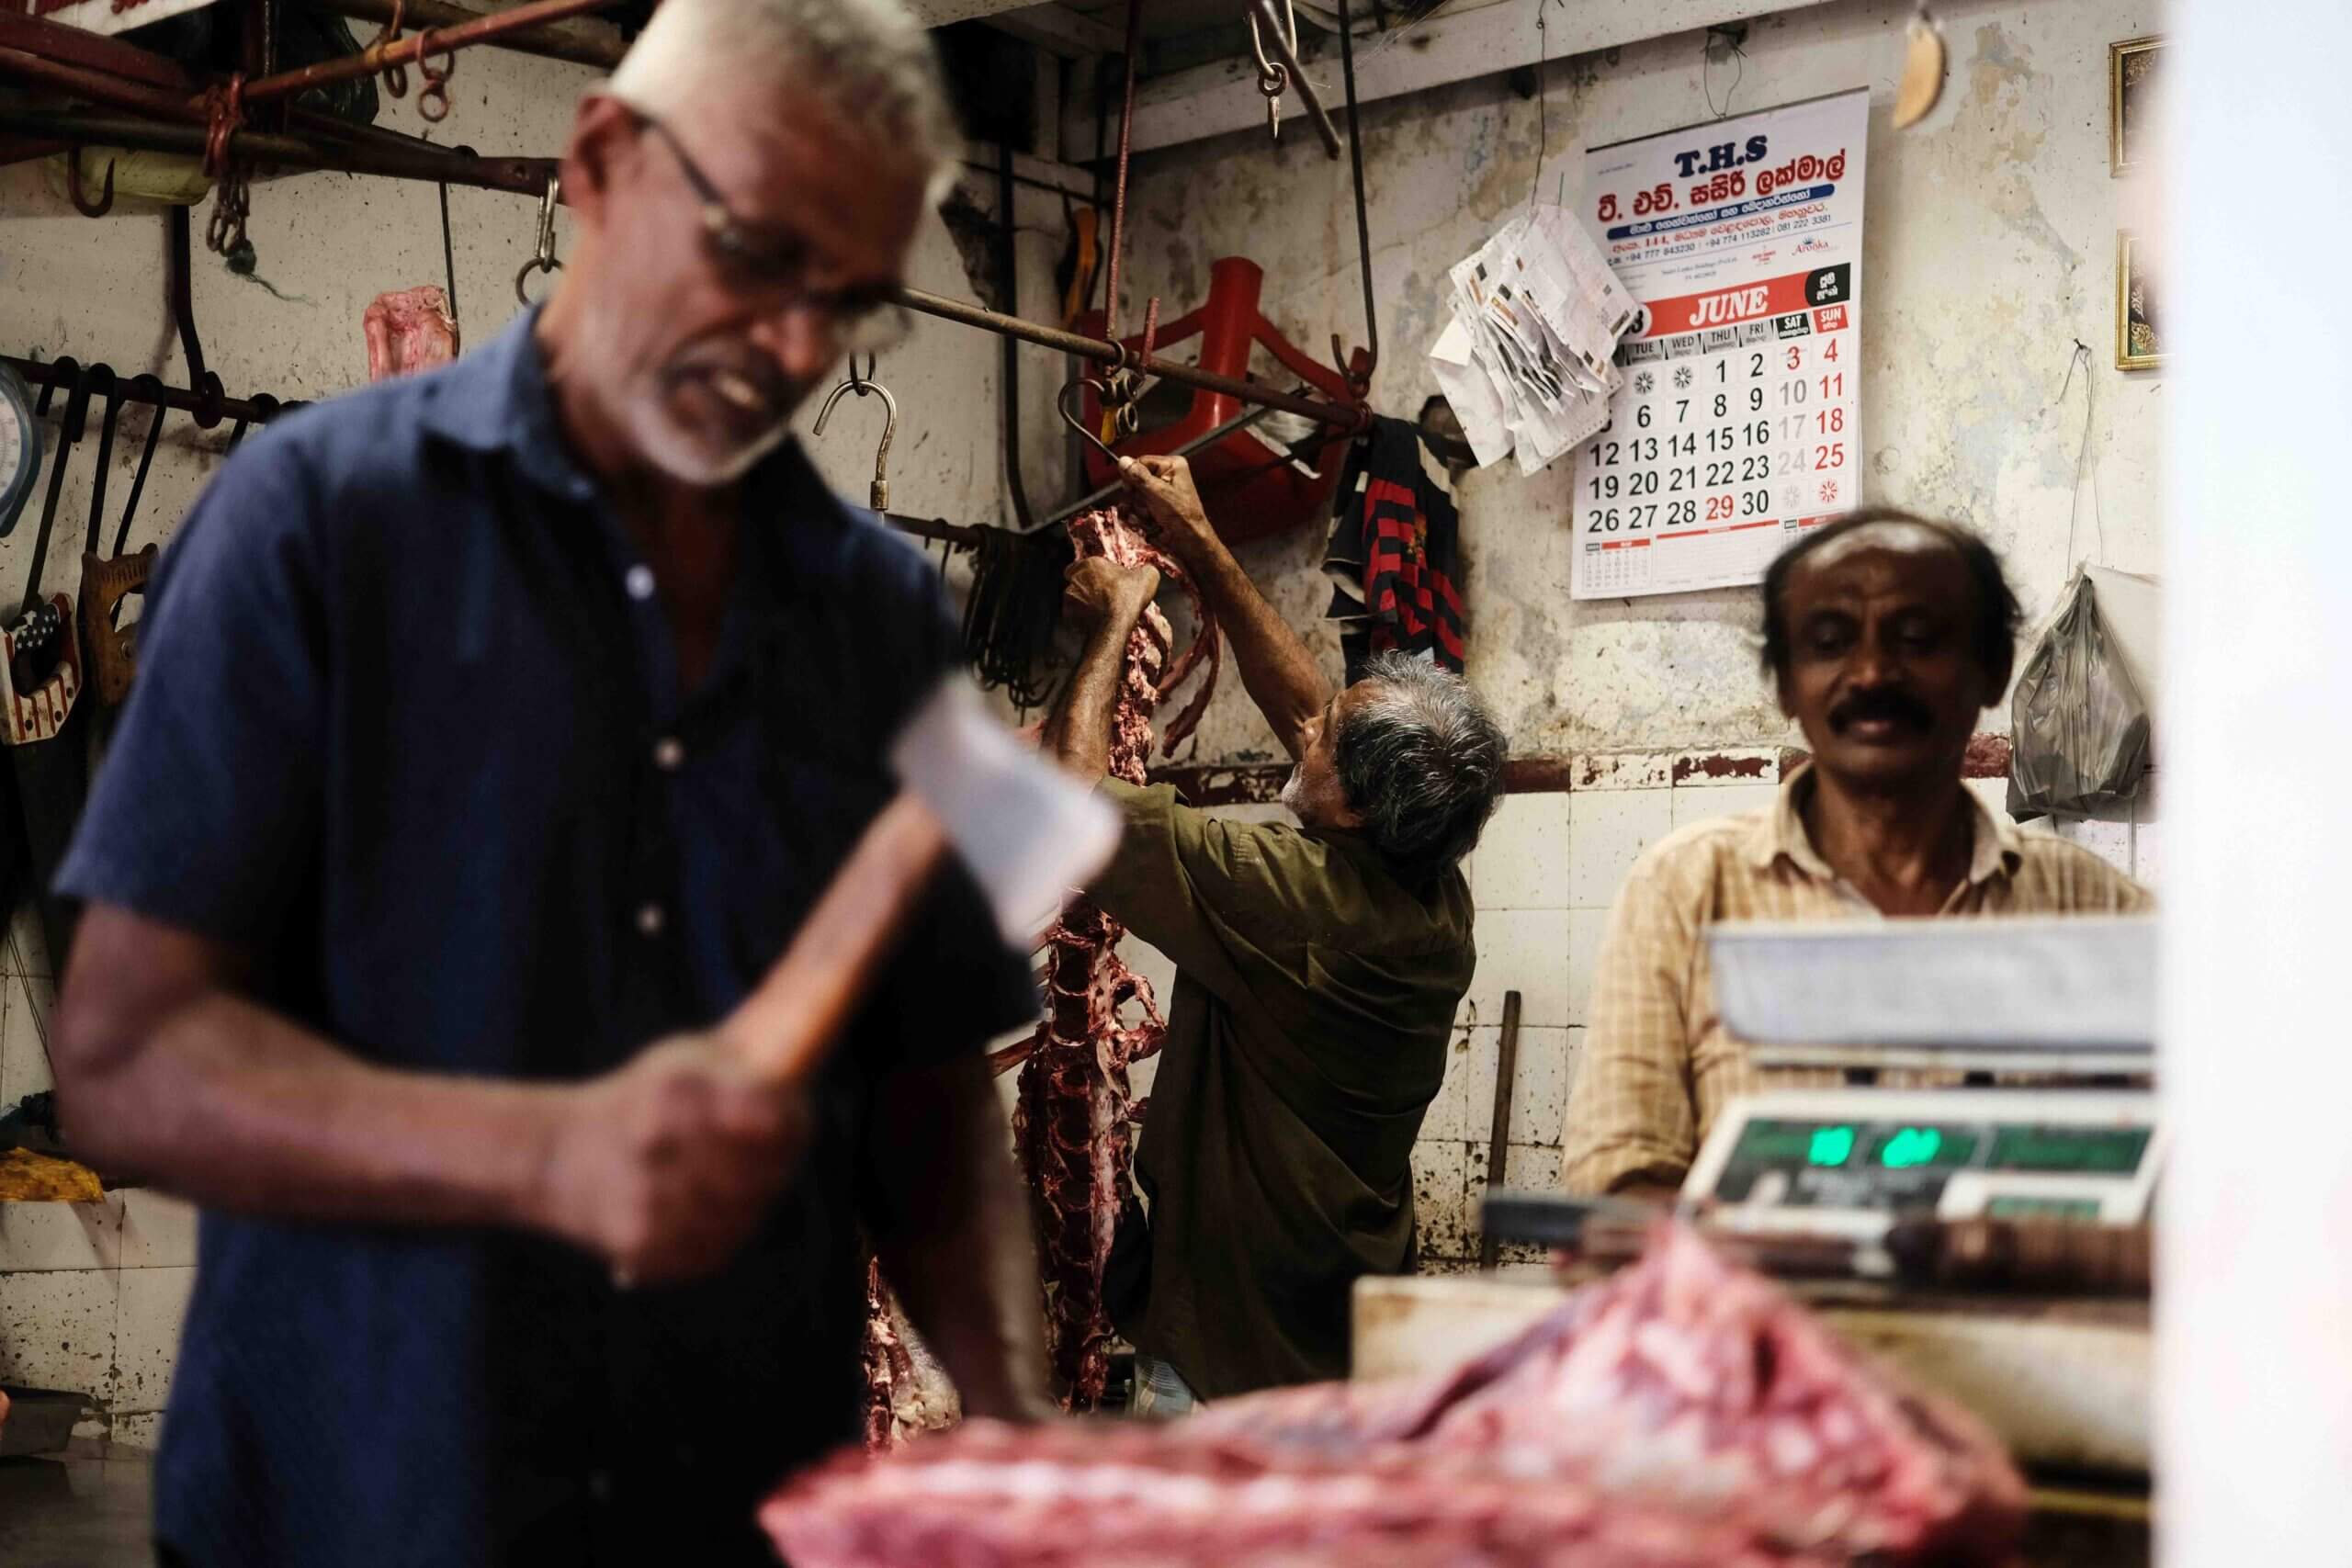
Street photography is a widely accessible and hugely captivating genre. Its primary aim is to capture the stories unfolding in public places in visually compelling forms. To create aesthetically absorbing images in this space, a photographer must master several fundamental elements, both soft and technical. However, if you are just setting off on your journey into street photography, then the former will be less applicable to you. As, first and foremost, you must master the technical elements of the camera. Which is why I have written this article about The Best Street Photography Settings to get you started.
- The Best Street Photography Settings: Camera Mode
- The Best Street Photography Settings: ISO
- The Best Street Photography Settings: Aperture
- The Best Street Photography Settings: Shutter Speed
- The Best Street Photography Settings: Focus Modes
- The Best Street Photography Settings: Burst Mode
- The Best Street Photography Settings: RAW & JPEG
- Conclusion

The Best Street Photography Settings: Camera Mode
Aperture Priority mode
Aperture priority mode is a standard setting available to all modern-day cameras. This mode enables the photographer to concentrate on adjusting the aperture alone. Allowing the camera to automatically regulate the ISO and shutter speed accordingly. For instance, if the aperture increases in size (letting more light through to the sensor), the shutter speed will increase, and the ISO will drop.
Due to the fast-paced nature of street photography, there isn’t time to assess compositions and fiddle with settings. Moments in the streets unfold in instant rapid successions. So, the more work you let the camera do, the more you can focus on these scenes. I shoot in aperture priority mode 95% of the time.
Shutter Priority
Shutter priority, as the name suggests, puts the control of the camera’s shutter speed in the hands of the photographer. In this mode, the camera will automatically modify the ISO and aperture values based on the shutter speed. When using this setting, it is necessary to be conscious of the aperture as it may generate unwanted depth of field or bokeh in an image.
Shutter priority mode is a perfect tool for conveying movement in photographs. As there is so much of this in our concrete jungles, it is an ideal setting to capture the spirit of a fast-paced scene. True, this can be a daunting setting to use, and it often takes a good deal of experimentation. However, the results offer unique and highly stylised results that help distinguish your work.
The Best Street Photography Settings: ISO
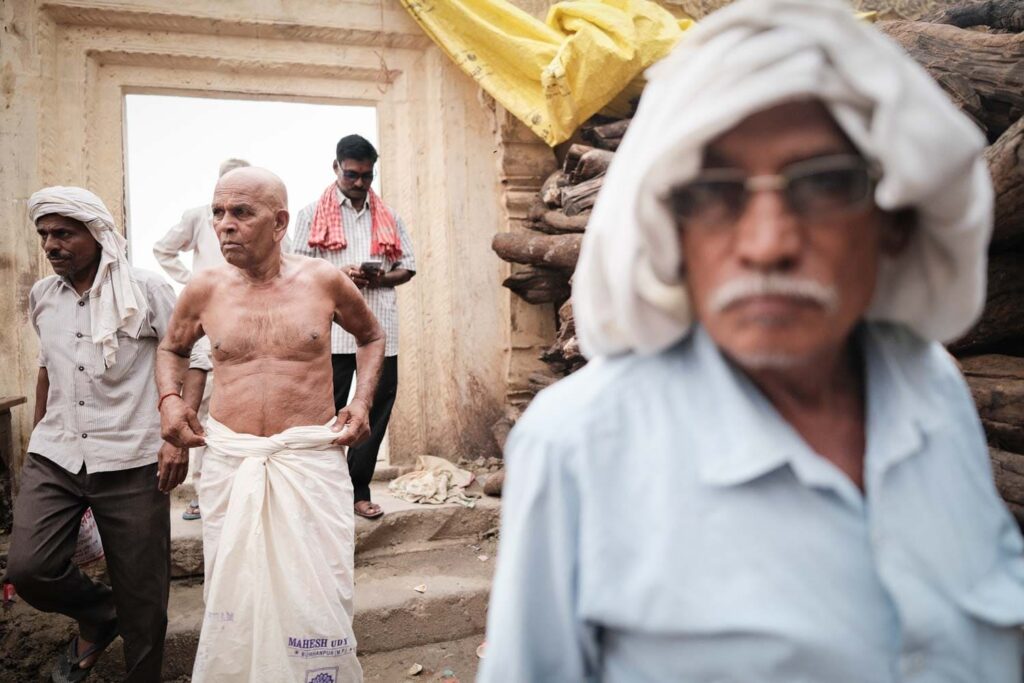
The rules for ISO are generally the same for all genres of photography. Shooting at the lowest possible value is always the best decision. However, there are times when shooting under 400 is not possible. Although shooting with higher ISO values will introduce noise to your images, remember it’s more important to get the shot than waste it pursuing better image quality.
Admittedly, when I first started in photography, I did fall victim to this trap. Missing countless opportunities to make images that could’ve been strong enough to include in my portfolio. Also, while I have progressed, I have begun to appreciate the character grain lends to a photograph. Now, I value it as an enhancement of my personal style.
The Best Street Photography Settings: Aperture
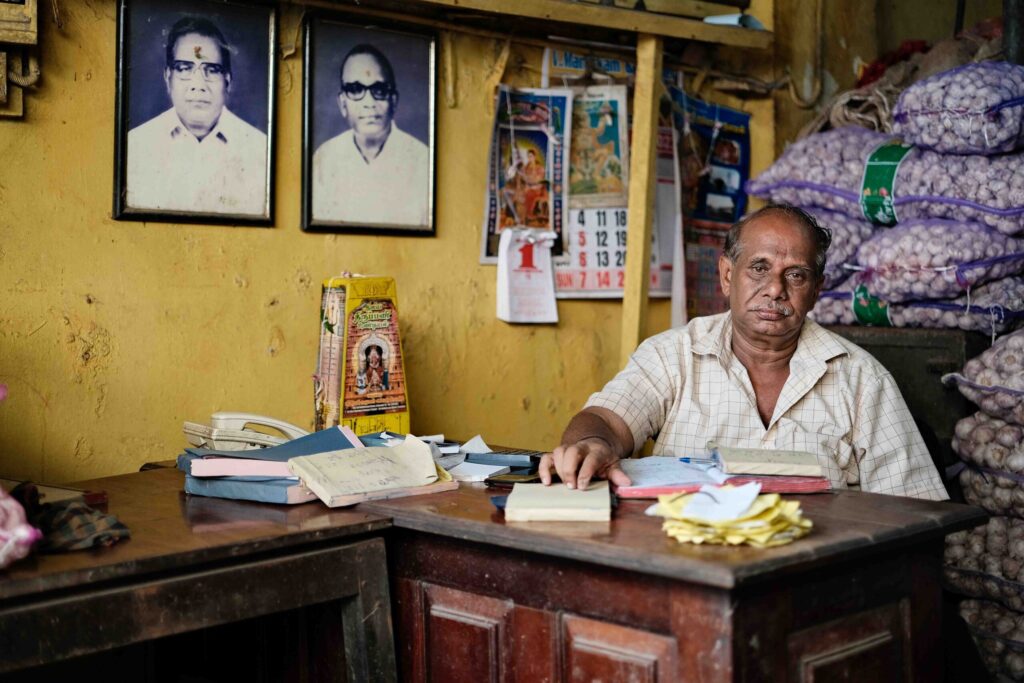
There are two key things to remember when understanding your aperture setting. The first is that the lower the f stop (i.e. 1.4, 2.3, etc.), the greater the depth of field will be in your photograph. And secondly, the faster your shutter speed will be (limiting motion blur in your camera). Also, note that the focal length of the lens you use will play a role in the outcome of these variables.
Personally, I opt to use short focal lengths with my street photography. This enables me to use wide apertures and high shutter speeds to freeze my subjects when necessary. Additionally, I use prime lenses that allow me to use f stops beyond the width variable telescopic lenses can reach. However, The trade-off is worth it for added speed and image quality.
The Best Street Photography Settings: Shutter Speed
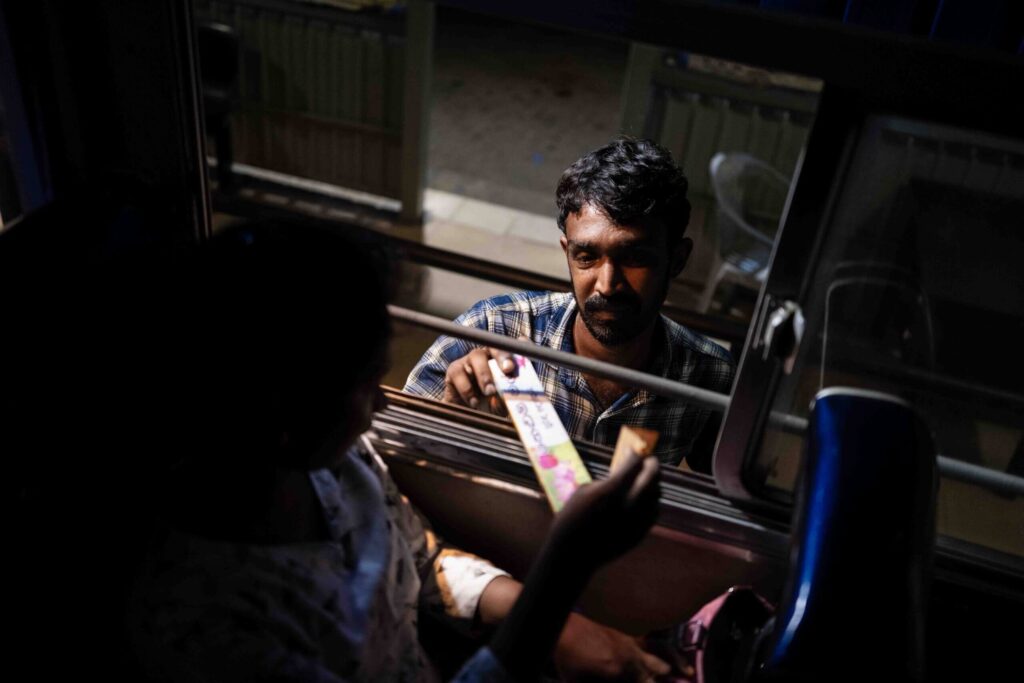
The shutter speed required will vary depending on the speed your subject is moving or the level of motion you wish to capture in a photograph. A good rule of thumb is to stick to at least 1/250s when wanting to freeze a dynamic scene. And there is no average to recommend when creating motion blur. It is something you will need to experiment with.
Due to operating with a camera primarily in aperture priority mode, I don’t typically think about adjusting the shutter speed. If I need a faster value, I will drop the f. stop to a lower value instead. This, in turn, makes the camera increase the shutter speed automatically. I adjust the SS manually only when using SS priority mode.

The Best Street Photography Settings: Focus Modes
Single Point Auto Focus
The single-point autofocus mode lets photographers choose a specific area on its frame to focus on by moving a small square inside its viewfinder or LCD. The benefit of using this mode is a great deal of control it gives as to where the camera will focus. However, it can sometimes lead to missed shots due to its manual nature. As the square is slowly moved with a joystick or D-pad. Some cameras offer touch screens to negate this time. However, it can be less accurate when selecting the focus point.
To use this method successfully, I have learned to anticipate where my focus needs to be before taking the shot. However, my style of photography has also slowed down somewhat from the speed a regular street photographer must operate. Making the camera more forgiving.
Zone-Focus
Next is zone focusing. A method more suited to dynamic environments. In this, the camera will choose the position it thinks is best to focus on from an adjustable-sized square in the viewfinder. While it’s not always perfect, in most cases, it does a brilliant job of choosing the correct place to focus, especially in more modern cameras with more computing power than the Apollo space mission.
I use this method less often. However, when the single-point focus isn’t working, I will make the switch. A helpful tip when shooting in zone focus mode is to use a higher aperture. Doing so will increase the depth of field in a frame, meaning even if the desired point is missed, there is still a good chance the subject will be sharp.
The Best Street Photography Settings: Burst Mode
Unfortunately, there is a stigma in the photography community about using burst mode. However, if someone is exploiting the other tools offered inside their camera. Such as autofocus or auto white balance, why not employ the rest of its features. Burst mode is a superb feature in modern-day cameras that increases the likelihood of you getting the shot you’re after.
I tend to use burst mode sparingly. Not because I’m put off by anything anyone on a forum or Facebook post has to say, but because when using mode, it inevitably leaves me with a shedload more images to sift through later. And if I am honest, I enjoy the challenge of seeking the decisive moments. When and where to use this feature will become second nature as you develop your skills. A helpful tip is to reduce the frames per second to around the 3 mark so you don’t overload yourself.

The Best Street Photography Settings: RAW & JPEG
RAW and JPEG files are two very different things. And one must understand their difference to ensure they are left with the highest-quality images. A RAW file is considerably larger than a JPEG. However, this is with good reason. The extra information translates to images with much higher dynamic range and detail, essential for those wishing to edit their photographs in the future. The drawback is they will fill a hard drive and memory card much faster. However, this is a worthy trade-off.
One of my biggest regrets as a photographer was deleting all my RAW files from a several-month cycle tour around Europe and the Balkans. A mistake made when I was just a newbie. Being totally unaware of their of their differences. Believing I was filling unnecessary space with duplicate RAW files. Big mistake. Always shoot in RAW + JPEG because you never know when you may want to edit or print your old photographs.
Conclusion
Unfortunately, there are no one-size-fits-all answers when selecting the best set-up for street photography sessions. Although certain settings, methods, and values have their merit. Your understanding of these will only develop through a continued disciplined approach to the craft. Moreover, these settings will inevitably vary between photographers due to their unique styles, photographic equipment and the demands of the photograph.
The best advice I can give you is to pick up your camera, take it to the streets and start practising. While remembering that everyone starts somewhere. Regardless of the blog posts or YouTube videos watched on the topic, nothing will force you to evolve and get better, like the experience of engaging with our urban jungle gyms.

