Achieving the correct exposure with your photography is the first crucial step when learning to use your camera. Too much light and the image will lose details in the highlights, and with too little, the blacks will overwhelm the image, causing the same thing to happen in the shadows. Digital photography is indeed far more lenient when it comes to achieving the correct exposure. Understanding Exposure in Photography.
For example, with post-processing software such as Lightroom and Photoshop, it is possible to regain some of these details. However, if the highlights become blown out, or the blacks crushed too far, they will remain irretrievable and the image useless. Moreover, when edited to this extent, photographs look worse than they would had the correct exposure been achieved in the first place. That is why understanding exposure in photography is vital to making quality images and why I have written this article to help improve your understanding.
The information included in this article is different from that taught to most students, as I find most information to be false or contradictory. I teach based on my own experience.
What is Exposure?
In photography, exposure refers to the amount of light that reaches your camera’s sensor or film. Achieving the correct exposure is achieved by balancing three key settings harmoniously. These elements are aperture, shutter speed, and ISO. Together, these settings can and will have a monumental impact on the outcome of your images.
What is Exposure in Photography: Aperture
Inside the lens of your camera are several tiny blades that form together in its centre to create a hole. It is possible to alter the diameter of this hole, which in turn lets in more or less light. Measured in what we can F stops, the size of this hole plays a crucial role in the outcome of an image.
The number of f a camera lens has will vary from model to model. But all you need to know is that by using lower f stops (e.g., f/1.8), the diameter of this ring increases. Which in turn lets in more light to the camera’s sensor (critical for low-light photography). Alternatively, using a larger aperture (e.g., f/16), the circumference of the bladed circle will decrease, thus letting less light through to reach its sensor.
Altering the aperture also affects the depth of field (bokeh) of a photograph. Low f stops will increase the depth of field (bokeh), and higher numbers will decrease it (causing more of the frame to be in focus).
Key Takeaways:
- Large Aperture (Low f-number): Ideal for creating a shallow depth of field, like portrait photography.
- Small Aperture (High f-number): Perfect for landscapes and situations where you want a wide depth of field, ensuring everything is in focus.

What is Exposure in Photography: Shutter Speed
Housed between the camera’s sensor and the lens is a shutter door. This mechanism will open and close, exposing the sensor to the light refracting through the lens for a certain period, most often measured in fractions of a second (or seconds for long exposure photography). Fast shutter speeds (1/1000 or faster) will freeze fast-moving subjects. Imperative for genres such as sports and wildlife photography. Alternatively, slow shutter speeds (1/30 or slower) will create artistic effects such as motion blur in a waterfall and light streaks.
In most situations, such as shooting street, event, or family photography, a shutter speed of 1/250 will often do the job of freezing your subjects. However, faster-moving objects in the environment, such as cars, trains, birds or cyclists, will need to be faster. Secondly, if you use long shutter speeds during the day, an ND filter (sunglasses for cameras) is necessary. Because a long shutter time will overexpose the sensor to light, thus ruining the photograph.
Key Takeaways:
- Fast Shutter Speed: Freeze the action and capture sharp images.
- Slow Shutter Speed: Create motion blur, light trails, and long-exposure effects
What is Exposure in Photography: ISO
The International Organization for Standardization (ISO) is an international body that determines standards for various industries, including photography. In the scope of photography, this refers to the sensitivity level of a camera’s sensor to light. Again, these levels vary between make and model. The vital concept is that as you raise the number (SO 100, ISO 400, ISO 800), the camera sensor will make your image brighter. However, this does not come without a drawback because by raising the sensor’s sensitivity, the level of grain or digital noise in an image will also increase.
Fortunately, in recent years, technology has improved to a point where cameras can still achieve superb image quality even with high ISO settings. Moreover, AI programs are becoming increasingly proficient at eliminating this noise from images.
When I first began in photography, like many others, I was always conscious about maintaining the lowest ISO possible. Yet, as time has progressed, I have become less concerned about this factor and more focused on using other things, such as light, composition and storytelling, as the deciding factors of a photograph’s success. Now, in most cases, I see it as a contributing element to my artistic style.
Key Takeaways:
- Low ISO: Crisp and noise-free images in good lighting.
- High ISO: Suitable for low-light conditions but may introduce digital noise.
Balancing Exposure
The Exposure Triangle
When I first began my journey into photography and came across the exposure triangle, I thought it was some scientific oddity that required strict calculations to achieve perfect exposure. But as time progressed, I realised how wrong I was. It is less of a formula that requires you to figure out some mind-bending mathematical formula and more of a concept. Just remember that by altering one of the three settings mentioned above, one or both of the others will need to change to achieve the same exposure.
For example, if you decide to reduce the size of the aperture by two stops, they will need to be compensated by either the shutter speed or ISO by two or one stop each. Fortunately, unless you shoot in full manual mode, which I only recommend for creative or landscape shots, you can use a priority mode and let the camera do the hard work.
Using the Light Meter
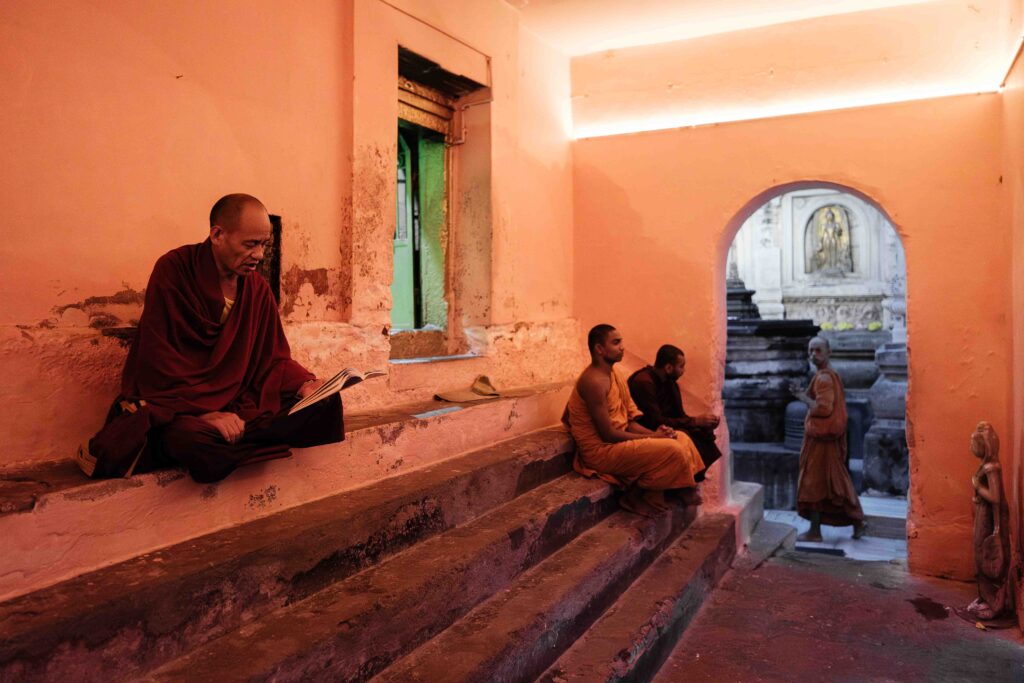
Inside the viewfinder of your camera, there will be a light meter. This tool is often on the left-hand side and indicates the exposure level. In most cases, students will learn that a perfect exposure sits at 0 on this meter. However, from my experience, this is false, and to achieve good exposure, you will need to aim at one of the stops between 0 and 1.
That is unless you shoot in dark situations with strong light sources, such as light from windows in dark rooms or artificial light from shops. In these situations, the opposite is the case, and the best exposures are often between 1 and -1.
Reading the Histogram
The histogram is also another helpful tool when attempting to achieve a balanced exposure. It is possible in modern cameras to display this inside a camera’s electronic viewfinder (EVF) or on its screen. To turn this feature on, locate it in your camera’s display options. If you haven’t already, I recommend you turn it on now.
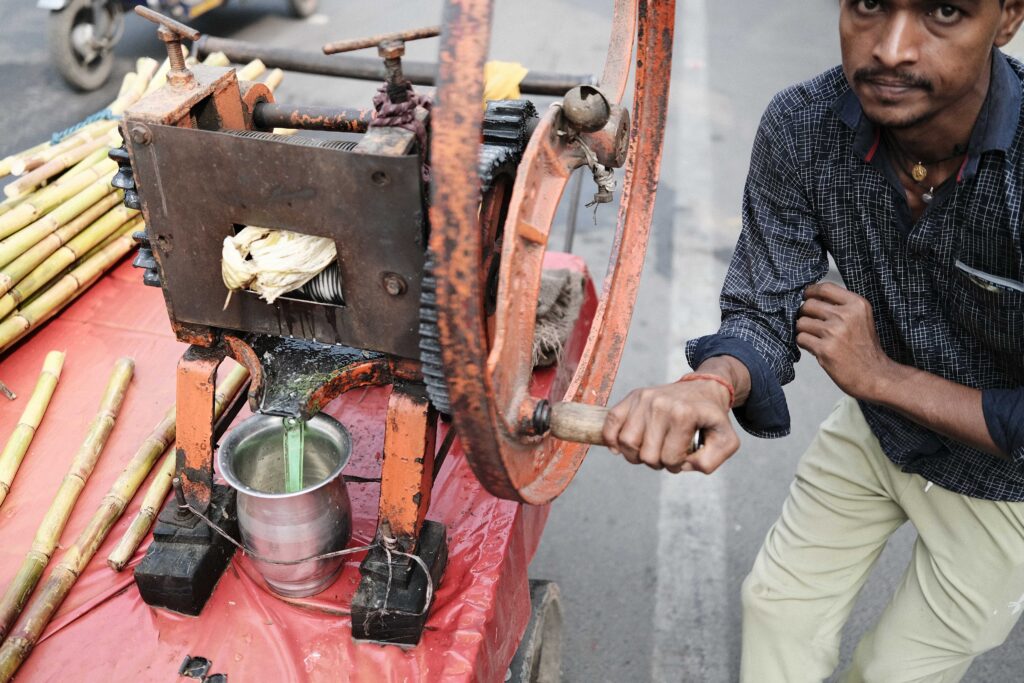
This metering tool takes a reading of the levels of RGB light entering the camera and displays it as a reading that looks like a mountain inside a graph. The peak of this mountain will move left to right (left half for the underexposed and right fourth quarter for overexposed. Depending on the over or underexposure settings of the camera. In most cases, to achieve the best exposure, you want to navigate this peak to roughly the centre of the right half of the grid.
Exposure Compensation
There is a third tool outside of the exposure triangle you can use to alter the camera’s exposure settings, and that is the exposure compensation function. This function will still change one of the three settings. However, it will do this automatically based on the best conditions. Moreover, if you are shooting in a priority mode, it will leave this setting and, instead, alter one of the other two to achieve the desired exposure.
I work 95% of the time in aperture priority mode and, after I set the desired aperture on my camera, will use the exposure compensation function to achieve my desired exposure. This combination may not be suitable for all, such as landscape or still-life photographers. However, for weddings, events, streets and other fast-paced genres, it is a perfect combination.

Conclusion
Learning how to expose your images is crucial to making quality photographs. Fortunately, it is an easy skill to pick up. Like anything, it will take a little practice to master. However, it won’t be long until it becomes second nature. Read over this article again to make sure the information sinks in, and you should have a solid understanding exposure in photography.
What did you think of this article? Was it useful? Did I miss anything you feel is critical to add? Let me know in the comments section below.
Understanding Exposure in Photography, Understanding Exposure in Photography.

